Welcome to this blog post where we will guide you through the process of doing a quick Malaysian straight weave installation with your leave-out hair. This installation method is perfect for those who want to achieve a natural look while wearing a weave. We will provide detailed instructions and tips to help you achieve the best results.
What is a Malaysian straight weave?
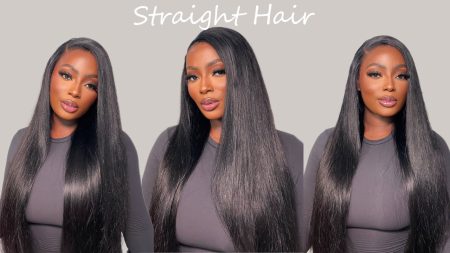
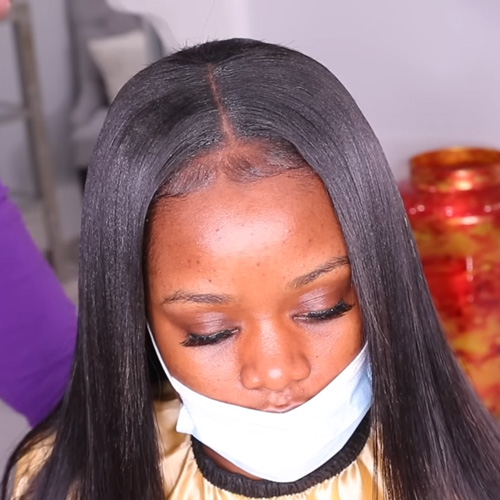
A Malaysian straight weave refers to a type of hair extension made from human hair that has a straight texture. It is popular among those who desire a sleek and smooth hairstyle. The term “Malaysian” is used to indicate the origin of the hair, suggesting that it is sourced from Malaysia.
This type of weave is known for its high quality and natural appearance, which allows it to blend seamlessly with the wearer’s hair. It can be attached using various methods, such as sewing, bonding, or clipping, depending on personal preference and the hairstylist’s recommendation.
Overall, a Malaysian straight weave provides versatility and the opportunity to achieve a straight and voluminous hairstyle.
Materials needed for the installation
Make sure you have the following resources available before we start:
1. Malaysian straight hair weave
Choose a high-quality hair weave that matches your desired color and texture. Malaysian straight hair is known for its silky and smooth texture, making it a popular choice for many.
2. Weaving thread
Opt for a strong and durable weaving thread that matches the color of your hair or weave. This thread will be used to secure the weave onto your braided hair.
3. Weaving needle
Use a weaving needle specifically designed for hair extensions. This needle will make it easier to sew in the weave.
4. Hair scissors
Have a pair of sharp hair scissors on hand to trim any excess thread or weave.
5. Wig cap
A wig cap will help secure your natural hair and create a smooth surface for the weave. Choose a wig cap that matches your skin tone for a more natural look.
6. Hair glue or adhesive
If you prefer to use hair glue or adhesive to secure the weave, make sure to choose a high-quality and skin-friendly product. Otherwise, the bad-quality adhesive will damage your hairline and hurt your skin.
7. Rat tail comb
A rat tail comb will come in handy for parting your hair and creating neat sections.
8. Flat iron or hair straightener
You will need a flat iron or hair straightener to blend your natural hair with the weave for a seamless look.
9. Hair moisturizer or oil
To keep your hair and weave moisturized and nourished, have a hair moisturizer or oil on hand.
Step-by-Step guide
Step 1: Prepare your hair
Start by preparing your natural hair. Wash and condition it thoroughly using your preferred hair care products. Make sure to detangle your hair gently to avoid any breakage. After washing, blow dry or air dry your hair until it is completely dry.
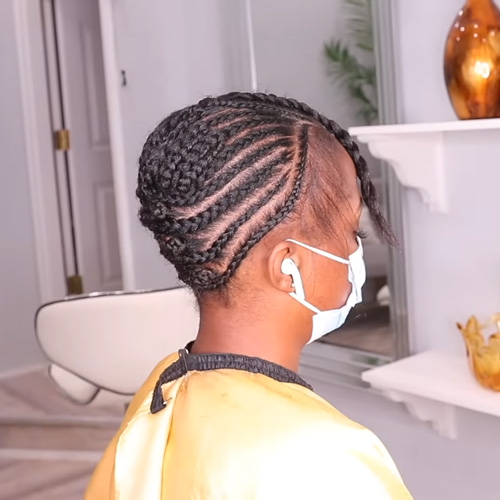
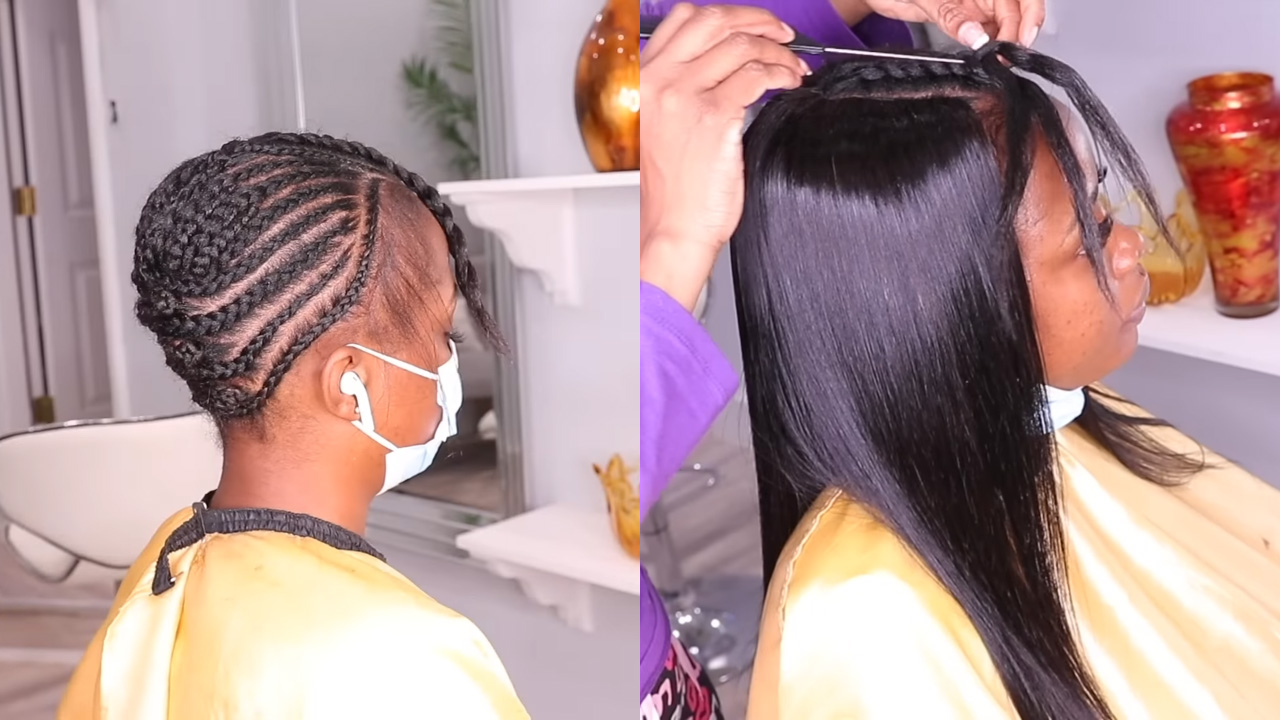
Step 2: Braid your hair
Next, section off your hair into small, tight braids. These braids will serve as the foundation for your weave. Use a rat tail comb to create neat and even sections. Secure each braid with a rubber band or hair clip to keep it in place.
Step 3: Put on the wig cap
Put on a wig cap to help secure your natural hair and create a smooth surface for the weave. Make sure the wig cap is tightly fitted to your head and covers all your braids.
Step 4: Measure and cut the weave
Measure the length of the track of your weave against your head. Cut the weave accordingly, leaving a small piece of track at the end to ensure it stays in place. Use hair scissors to cut the weave, making sure to have clean and straight edges.

Step 5: Sew in the weave
Using the weaving needle and thread, sew the weave onto your braided hair. Start from the back of your head and work your way up, making sure to secure the tracks tightly. Take small stitches to ensure the weave is securely attached. Repeat this process until you have sewn in all the tracks.

Step 6: Blend your natural hair
Now it’s time to blend your natural hair with the weave. Take small sections of your leave-out hair and use a flat iron or hair straightener to match the texture of the weave. This will create a seamless blend between your natural hair and the weave. Make sure to apply heat protectant spray before straightening your hair to minimize damage.
Step 7: Style and finish
Once your natural hair is blended with the weave, style it as desired. You can curl, straighten, or leave it as it is. Experiment with different hairstyles to find the one that suits you best. Apply a hair moisturizer or oil to shine and nourish your hair. Remember to take care of your hair and the weave to ensure longevity and maintain its natural look.
Final thoughts
By following these step-by-step instructions, you can achieve a quick and flawless Malaysian straight weave installation with your leave-out hair. Take your time and be patient during the process to ensure the best results.
Remember to maintain proper hair care and keep your weave and natural hair moisturized to prolong its lifespan. Enjoy your new hairstyle and embrace the versatility that a weave can offer!
Recool Hair is a very nice hair shop for high-quality human hair extensions, including various types of hair weaves, bundles, wigs, etc. If you have any questions, you can contact us freely.